
Maximizing Server Rendering for Interactive Next.js Applications
Next.js has come a long way since its inception, and it's now a powerful framework that combines both server-side and client-side rendering. With the introduction of React Server Components (RSCs) and the classic client components, you have the flexibility to create a purely client-rendered app with many client components or a purely server-rendered app using RSCs. However, what if you want to have the best of both worlds?
Server rendering improves performance and can deliver much of the HTML quickly, reducing the need for the client to render the entire page. This also results in smaller bundles delivered to the client. The question is, how would you maximize server rendering while still having an interactive application? This blog post will show you how.
Building a Lightweight Shopping Experience
To illustrate the concept, we'll build a lightweight shopping experience with a list of products and an "Add to Cart" button that opens a drawer with the added cart items. Most of the page will be server-rendered, and we'll use client components only to show the drawer. Even the drawer itself will not be entirely a client component; rather, the wrapper necessary to show the drawer will be a client component, while the contents will be server-rendered.

This can be accomplished by the nature of client components that can accept server-rendered content. We'll set up a React context provider at the layout level, which will control showing or hiding the cart. This provider will be used by our client components (the "Add to Cart" button and the "Show Cart" button), as well as by the drawer wrapper.
When you click "Add to Cart," this will invoke a server action (more on that later), and then use a function provided through the context of the provider to show the drawer.
The Code
For this example, we'll use shadcn as our component library. It looks nice, and it also provides a good, accessible component for our cart drawer. Looking at our wireframe above, we'll need a total of three components:
The components can be installed with a single command:
npx shadcn-ui@latest button table sheet
Next, we'll set up our React context provider:
// app/layout.tsx
export default function RootLayout({
  children,
}: Readonly<{
  children: React.ReactNode;
}>) {
  return (
    <html lang="en">
      <CartProvider>
        <body
          className={cn(
            "min-h-screen bg-background font-sans antialiased",
            fontSans.variable,
          )}
        >
          {children}
        </body>
      </CartProvider>
    </html>
  );
}
// app/components/cart-provider.tsx
"use client";

import { createContext, useState } from "react";

type CartProviderContextValue = {
  isCartShown: boolean;
  setCartShown: (isCartShown: boolean) => void;
};

export const CartContext = createContext<CartProviderContextValue>({
  isCartShown: false,
  setCartShown: () => {},
});

export interface CartProviderProps {
  children?: React.ReactNode;
}

export default function CartProvider({ children }: CartProviderProps) {
  const [isShown, setShown] = useState(false);

  return (
    <CartContext.Provider
      value={{
        isCartShown: isShown,
        setCartShown: setShown,
      }}
    >
      {children}
    </CartContext.Provider>
  );
}
The provider provides a boolean flag to indicate whether the cart is currently shown (isCartShown) and a function to change that (setCartShown). Note that CartProvider is a client component, but its contents are provided as children. Therefore, CartProvider is just a thin client-component wrapper around its contents.
Now, let's see the implementation of the "Add to Cart" button and the CartDrawer component. The AddToCartButton is a client component that reads the React context and calls its setCartShown function after adding to the cart has been completed. This will, in turn, set the isCartShown flag on the provider and show the cart drawer, which also reads the isCartShown flag from the provider. How is the cart updated, though? We'll use a server action named addToCartAction for that. We'll explain how this works in a bit, but in the meantime, let's see the implementations of the AddToCart button and the CartDrawer component.
// app/components/add-to-cart-button.tsx
"use client";

import { addToCartAction } from "@/app/actions/cart";
import { Button } from "@/app/components/ui/button";
import { useContext } from "react";
import { CartContext } from "@/app/components/cart-provider";

export type AddToCartButtonProps = {
  productId: number;
};

export default function AddToCartButton({ productId }: AddToCartButtonProps) {
  const { setCartShown } = useContext(CartContext);

  const handleAddToCart = async () => {
    await addToCartAction(productId);
    setCartShown(true);
  };

  return <Button onClick={handleAddToCart}>Add to Cart</Button>;
}
Similar to the CartProvider component, the' CartDrawer' component is a thin client component wrapper around its contents. It reads the React context provided by the CartProvider and passes it to the Sheet component from the Shadcn library. The SheetContent component accepts cart contents as children passed from the CartDrawer's parent, which is server-rendered.
// app/components/cart-drawer.tsx
"use client";

import {
  Sheet,
  SheetContent,
  SheetHeader,
  SheetTitle,
} from "@/app/components/ui/sheet";
import { useContext } from "react";
import { CartContext } from "@/app/components/cart-provider";

type CartDrawerProps = {
  children: React.ReactNode;
};

export default function CartDrawer({ children }: CartDrawerProps) {
  const { isCartShown, setCartShown } = useContext(CartContext);

  return (
    <Sheet open={isCartShown} onOpenChange={setCartShown}>
      <SheetContent>
        <SheetHeader>
          <SheetTitle>Cart</SheetTitle>
        </SheetHeader>
        {children}
      </SheetContent>
    </Sheet>
  );
}
Using Server Actions and Cache Invalidation
But how do we ensure that the contents are updated? The contents are an RSC component called CartContents that calls getCachedCart in the data access layer. In real-world scenarios, getCachedCart would probably call a database or an API, but we have neither here. So, we'll simulate a database through the use of the file-system-db package, a lightweight Node library that can write and read to a JSON file as a database.
The get calls to the database are wrapped in unstable_cache, which allows us to tag such requests with cart. This means CartContents is initially fetching data from the tagged getCachedCart call.
// app/data-access/cart.ts

export const getCachedCart = unstable_cache(
  async () => {
    return await getCart();
  },
  ["getCart"],
  { tags: ["cart"] },
);

export function getCart(): Promise<Cart> {
  return Promise.resolve(db.get("cart"));
}
Whenever we mutate the cart, we want to call invalidateTags("cart"). This will force purging of Next.js caches and consequently re-render the cart. For example, the "Add to Cart" button calls the addToCartAction server action, which adds the item to the database and calls invalidateTags("cart"). This server action call returns an updated RSC payload to the client, which re-renders the part that depended on the getCachedCart call - and that is the CartContents component.
// app/actions/cart.ts

export async function addToCartAction(productId: number) {
  await addToCart(productId);
  // Adding the following revalidates the data cache and makes this server action return updated RSC data, which the client part re-renders
  revalidateTag("cart");
}
// app/data-access/cart.ts
export async function addToCart(productId: number) {
  const product = PRODUCTS.find((product) => product.id === productId);
  if (product) {
    const cart = await getCart();
    cart.items.push(product);
    await db.set("cart", cart);
  }

  return Promise.resolve();
}
And that's it. We now have a fully functional, mostly server-rendered cart, where only small bits of interactivity are modeled as client components. Here is the result:
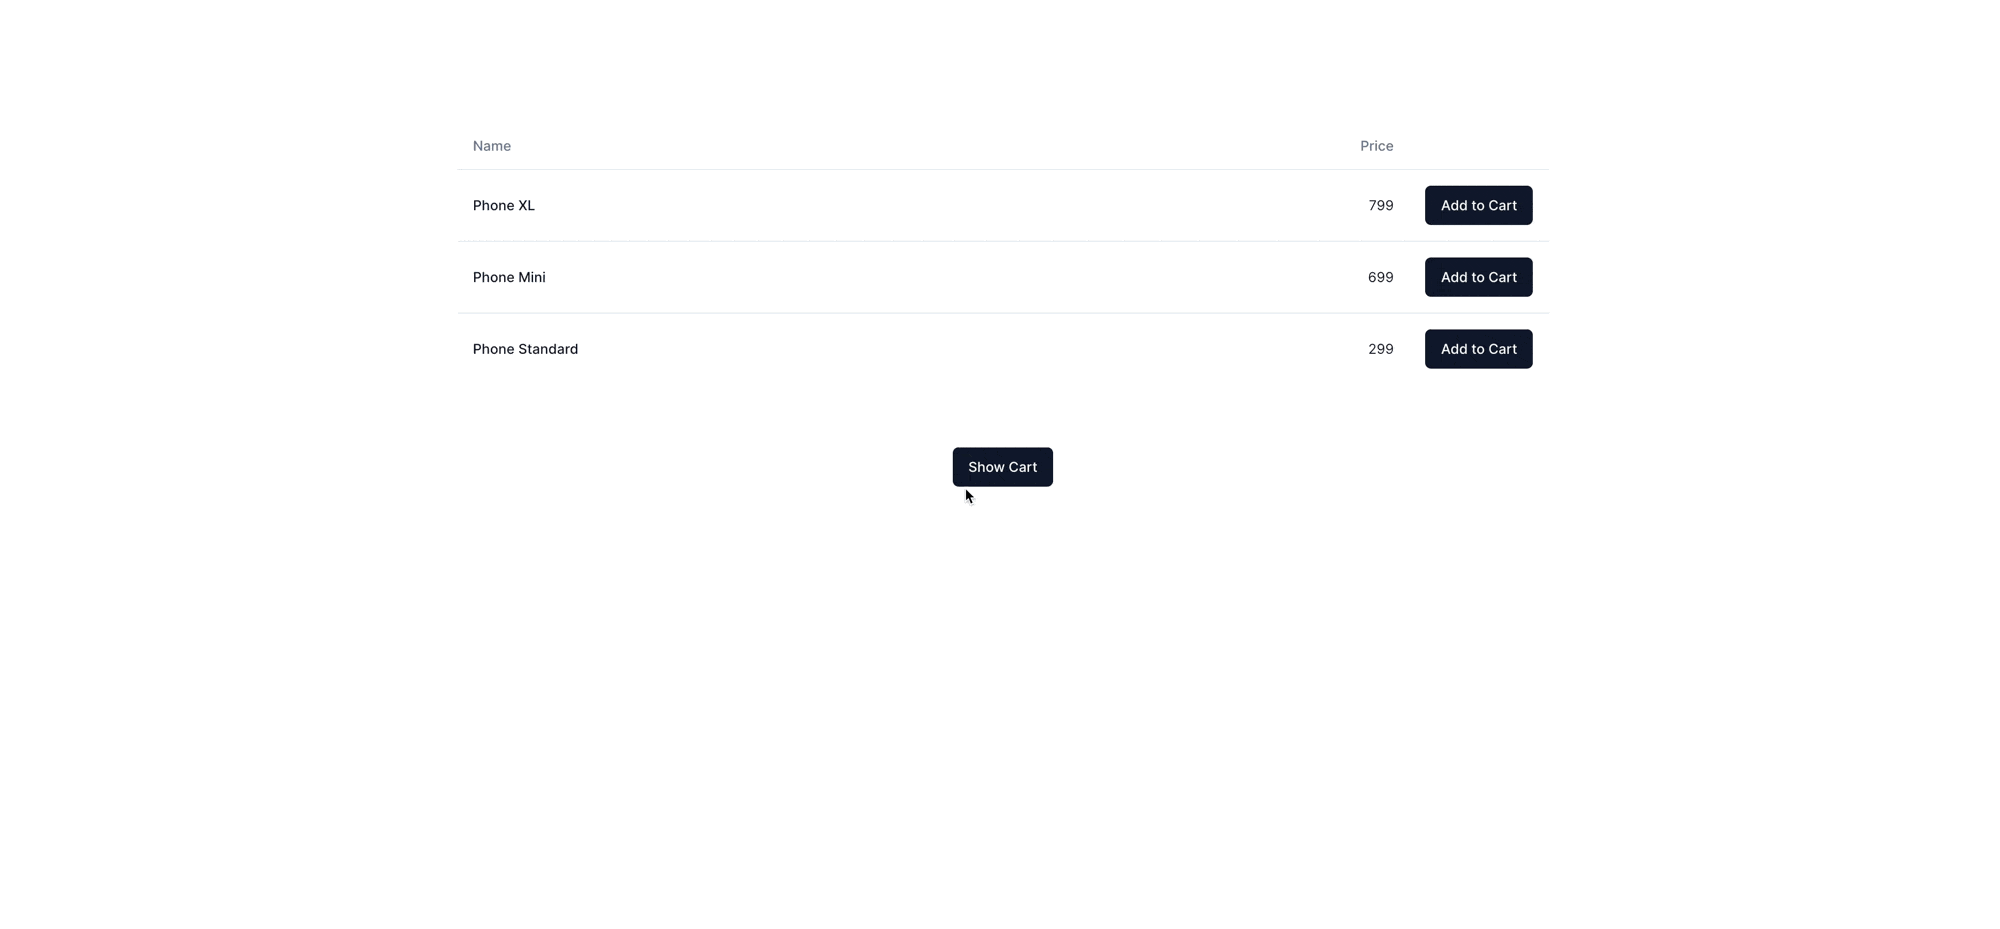
Some of the code shown above remains, such as the "Show Cart" button and the table of products, but those are just UX improvements on top of the core functionality. You can see the entire source code on Stackblitz.
Wrapping Up
In this blog post, we've explored how to maximize server rendering in Next.js while still having an interactive application. By leveraging React Server Components, client components, and server actions, we've created a shopping experience where most of the page is server-rendered, but the cart drawer is interactive and updates in real time. This approach improves performance, reduces the client-side rendering burden, and delivers smaller bundles to the client.